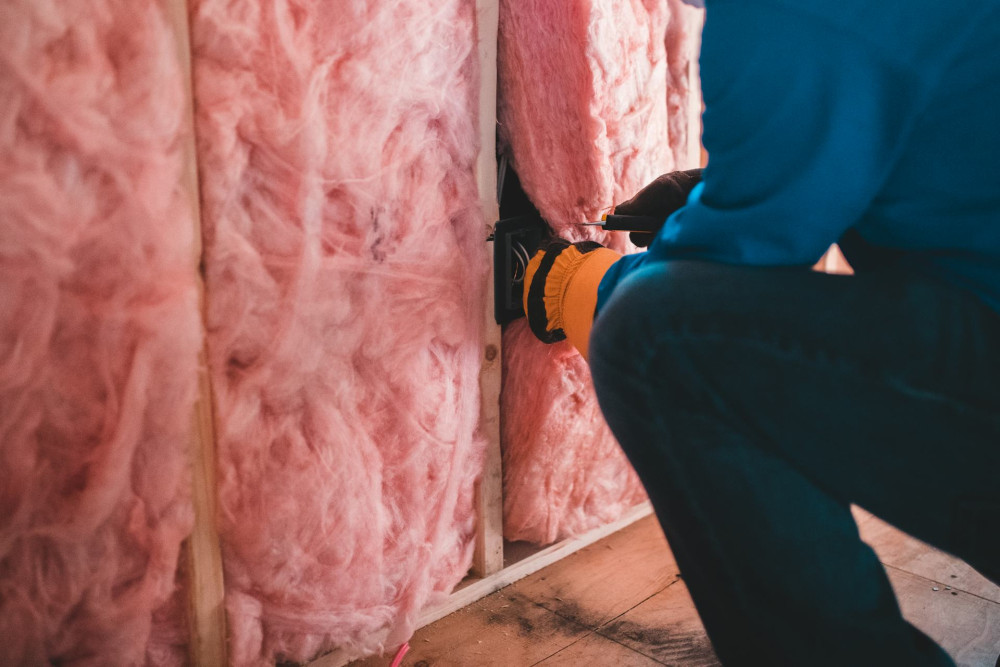
Plan your insulation project step by step – choose the right materials for optimal energy efficiency

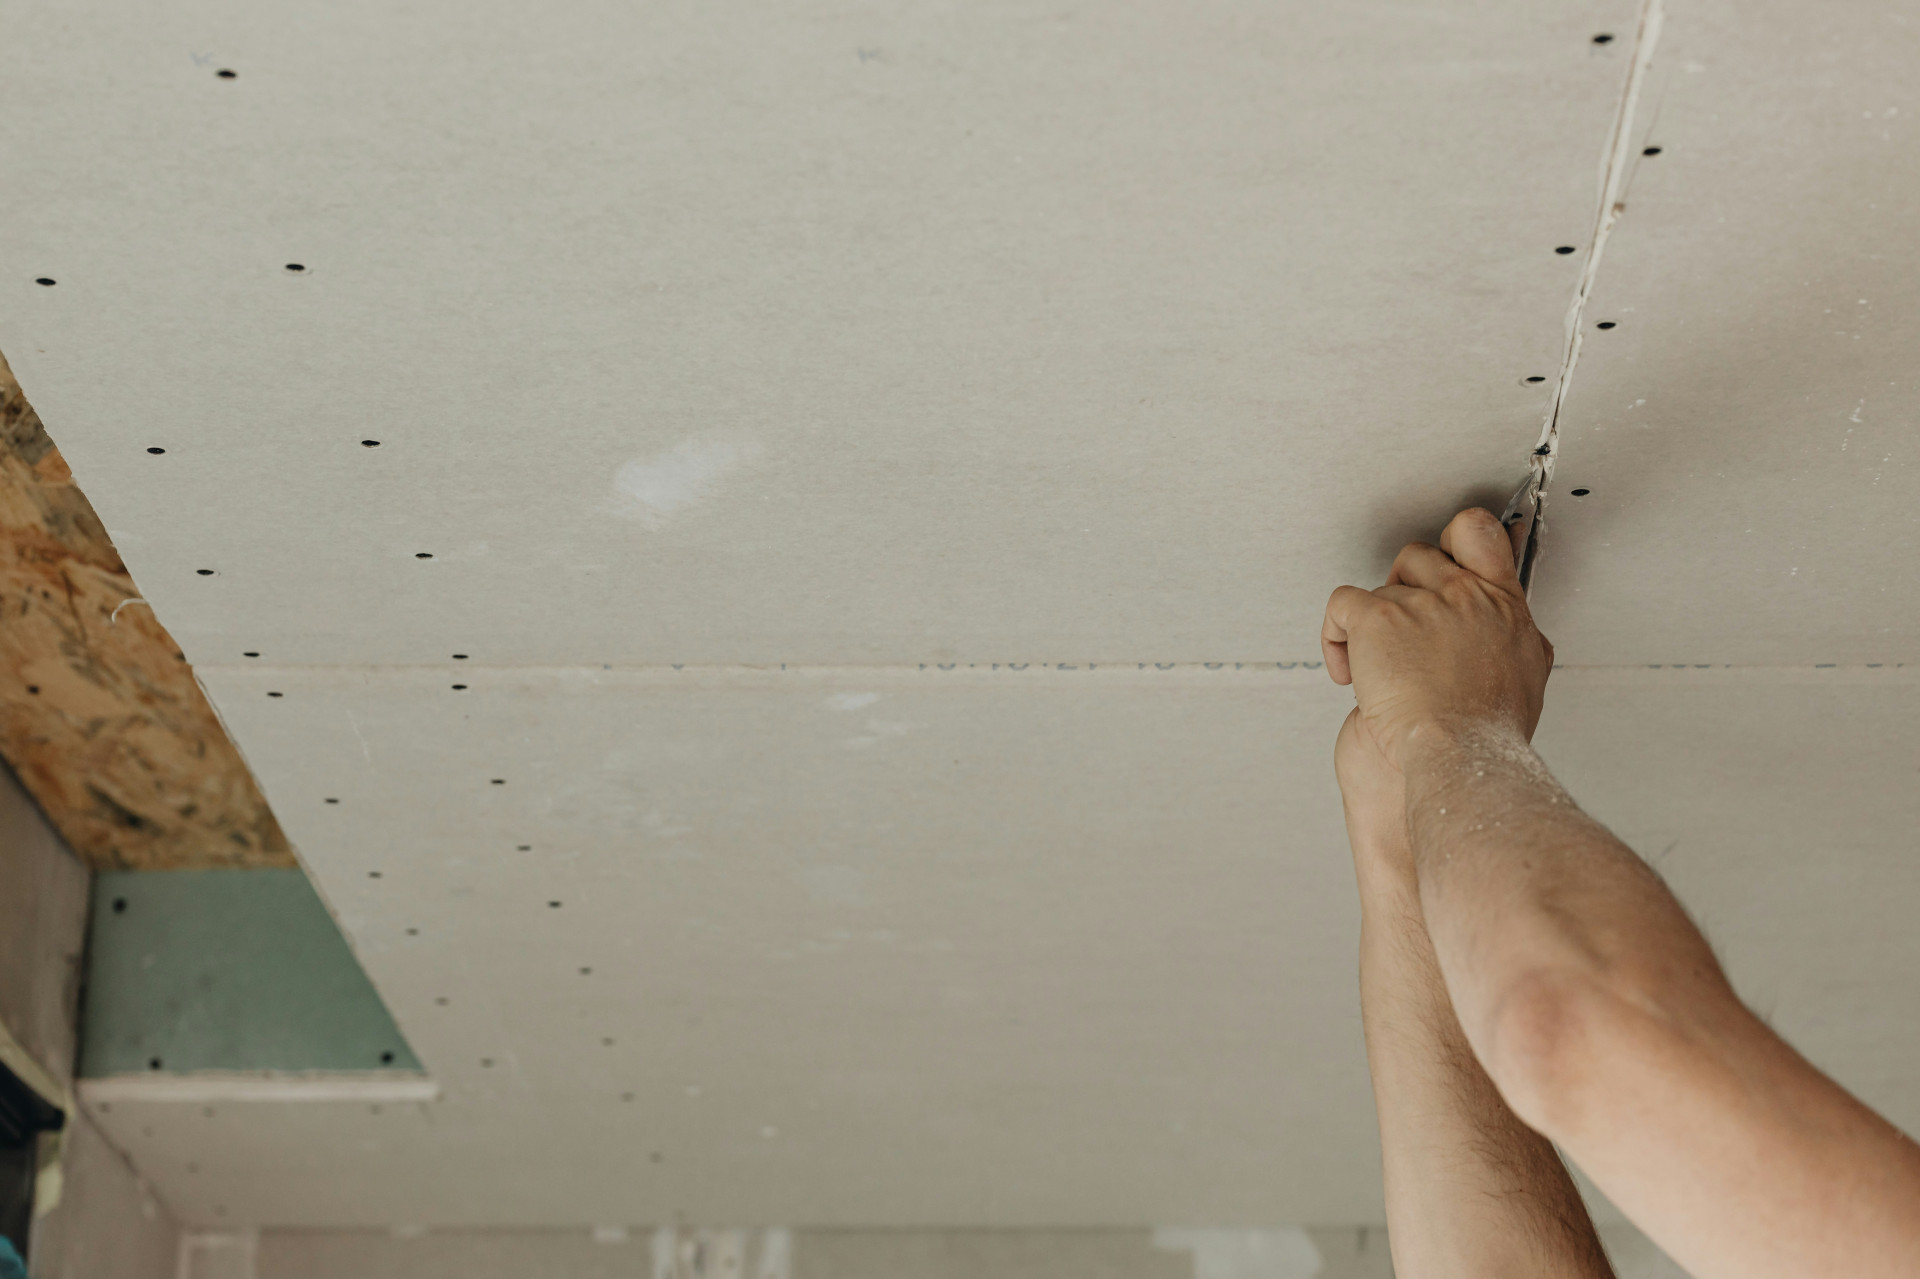
Plan your insulation project step by step – choose the right materials for optimal energy efficiency
Good insulation is one of the most effective ways to reduce your home’s energy use. In Australia’s varied climate – from hot, dry summers to cool, damp winters – insulation doesn’t just keep the heat in during winter; it also helps keep your home cooler in summer. Whether you’re renovating or building new, a well-planned insulation project can make a big difference to comfort, energy bills, and sustainability. Here’s a step-by-step guide to help you plan your project and choose the right materials for optimal energy efficiency.
Step 1: Start with an energy assessment
Before you begin, it’s important to understand where your home is losing or gaining the most heat. An energy assessment – either by a professional assessor or through your own inspection – can help identify problem areas. In most Australian homes, the roof, external walls, floors, and windows are the main sources of heat transfer.
By mapping out these weak points, you can prioritise your efforts and avoid spending money where it won’t make much difference. A professional energy report can also estimate potential savings and payback time for your investment.
Læs også:
Step 2: Set your budget and goals
Once you know your home’s needs, the next step is to set a realistic budget. Consider how much you want to invest and what you hope to achieve – lower energy bills, improved comfort, reduced noise, or a higher energy rating.
Think long-term. Quality materials and proper installation may cost more upfront but often deliver greater savings and fewer issues over time. Check whether you’re eligible for government rebates or energy efficiency programs, which can make your project more affordable.
Step 3: Choose the right insulation materials
Australia’s climate zones vary widely, so the best insulation material depends on where you live and which part of the house you’re insulating.
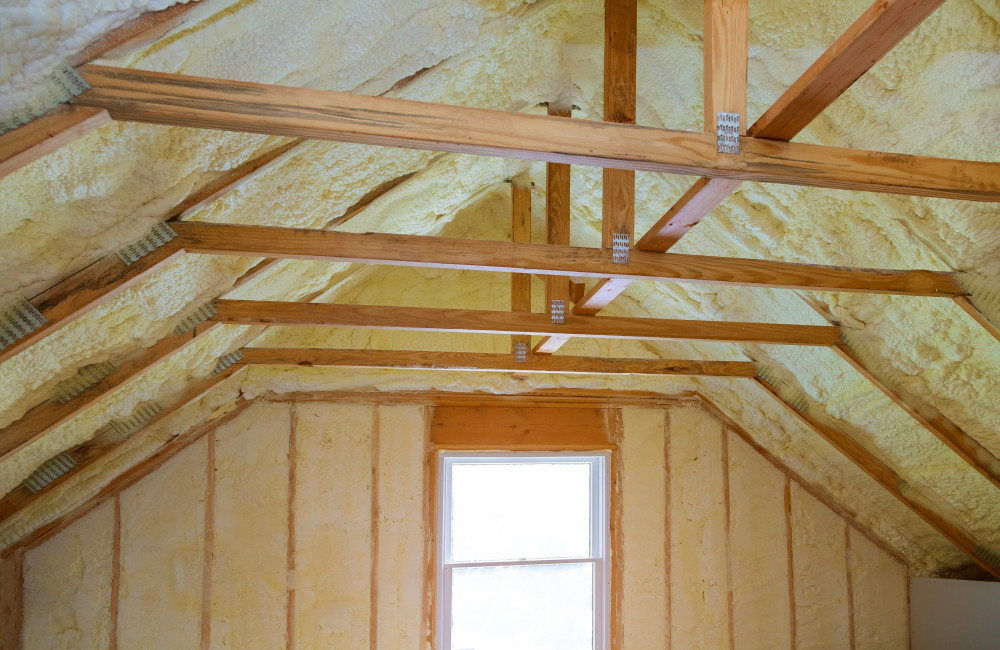
- Glasswool and rockwool (mineral wool) – versatile, fire-resistant, and effective for ceilings, walls, and underfloors. Ideal for most climates.
- Polyester batts – made from recycled plastic, non-irritant, and easy to handle. Suitable for DIY projects.
- Reflective foil insulation – excellent for hot climates, as it reflects radiant heat. Commonly used under metal roofs or in walls in northern and inland regions.
- Rigid foam boards (XPS, EPS, PIR) – high thermal performance and moisture resistance, ideal for tight spaces or external wall systems.
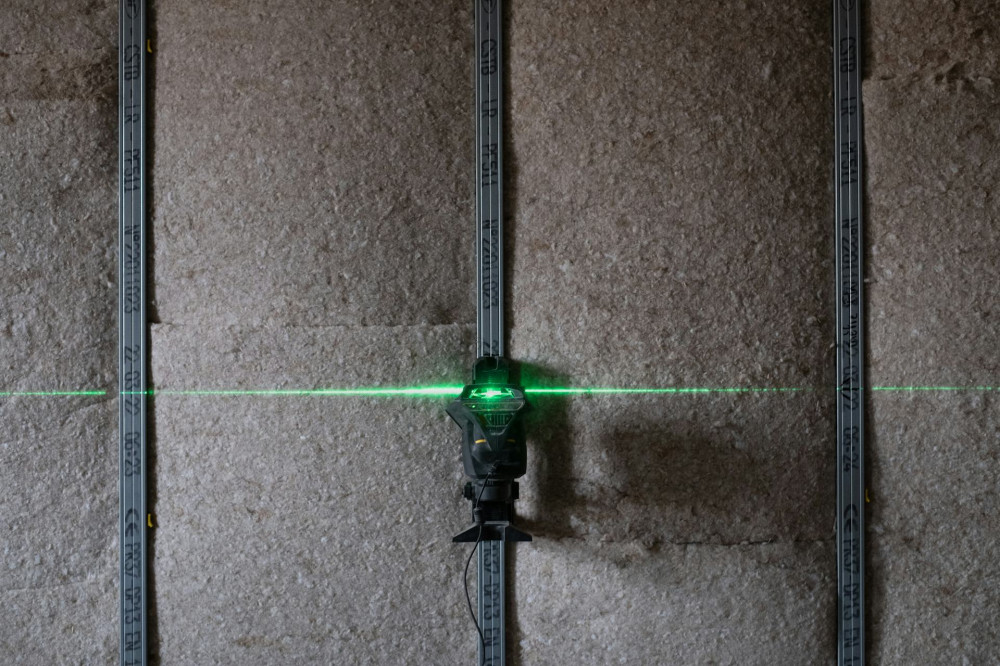
- Natural fibre insulation (sheep’s wool, cellulose, hemp) – sustainable options with good thermal and acoustic properties, suitable for eco-friendly builds.
Choose materials that suit your local climate, building type, and environmental goals. In humid or tropical areas, ensure materials are moisture-resistant and allow for adequate ventilation to prevent condensation.
Step 4: Plan the installation – DIY or professional help?
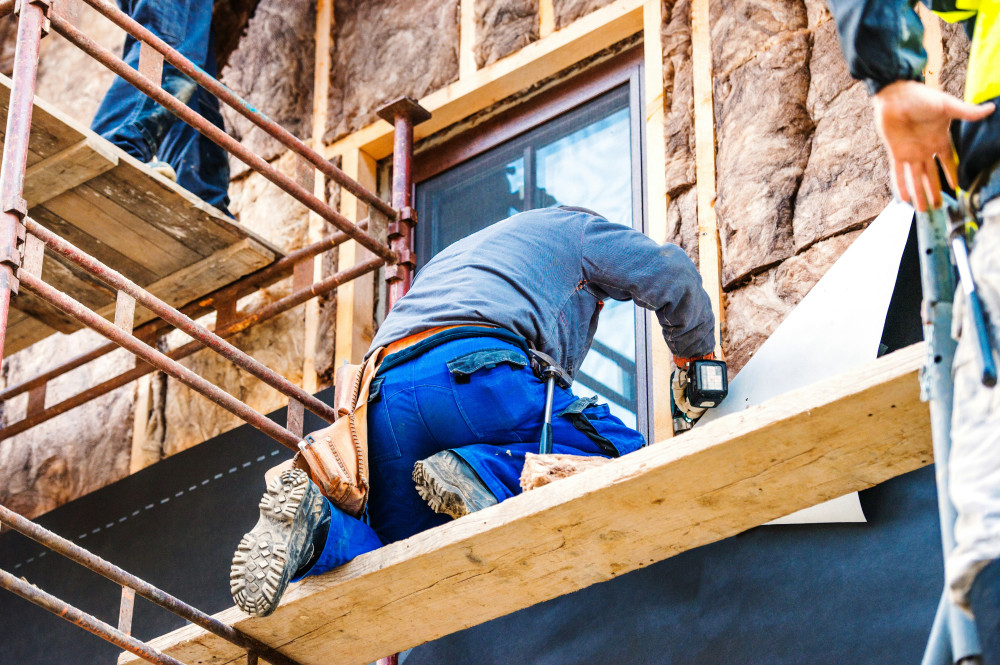
Some insulation tasks can be done yourself, while others are best left to professionals. Ceiling and underfloor insulation can often be installed by homeowners, but wall insulation or retrofitting existing homes may require specialist equipment and expertise.
If you’re unsure, it’s worth getting professional advice. Poorly installed insulation can lead to gaps, moisture problems, or reduced performance. A qualified installer can ensure the job meets Australian standards and delivers the expected energy savings.
Step 5: Consider ventilation and airtightness
Improving insulation also makes your home more airtight, which is great for energy efficiency but can cause issues if ventilation isn’t managed properly. Make sure your home has adequate airflow, either through natural ventilation or a mechanical system with heat recovery.
In humid regions, good ventilation helps prevent mould and condensation. Balancing insulation and ventilation is key to maintaining a healthy indoor environment.
Step 6: Check the results
After installation, inspect your insulation to ensure it’s performing as intended. A thermal imaging scan can reveal any cold or hot spots that need attention. You can also monitor your energy bills over time to see how much you’re saving.
If you’ve used a professional installer, ask for documentation showing the materials used and their R-values, so you know your home meets the required energy standards.
Step 7: Maintain and future-proof your insulation
Insulation generally requires little maintenance, but it’s wise to check your roof space and underfloor areas occasionally for signs of moisture, pests, or damage. If you plan future renovations – such as replacing your roof, cladding, or windows – consider integrating additional insulation at the same time for maximum efficiency.
A smart investment for comfort and sustainability
A well-planned insulation project is an investment in both comfort and sustainability. You’ll enjoy a more stable indoor temperature, lower energy costs, and a smaller carbon footprint. With the right planning and materials, you can create a home that’s comfortable year-round and built to handle Australia’s diverse climate – step by step.
Læs også: