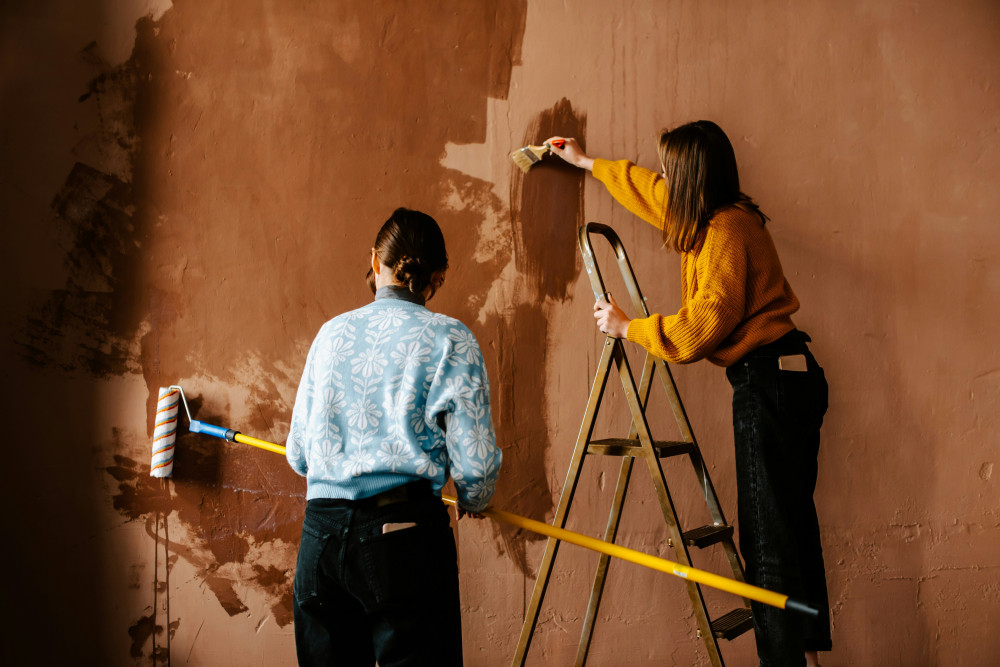
Cover Like a Pro: How to Protect Your Furniture While Painting

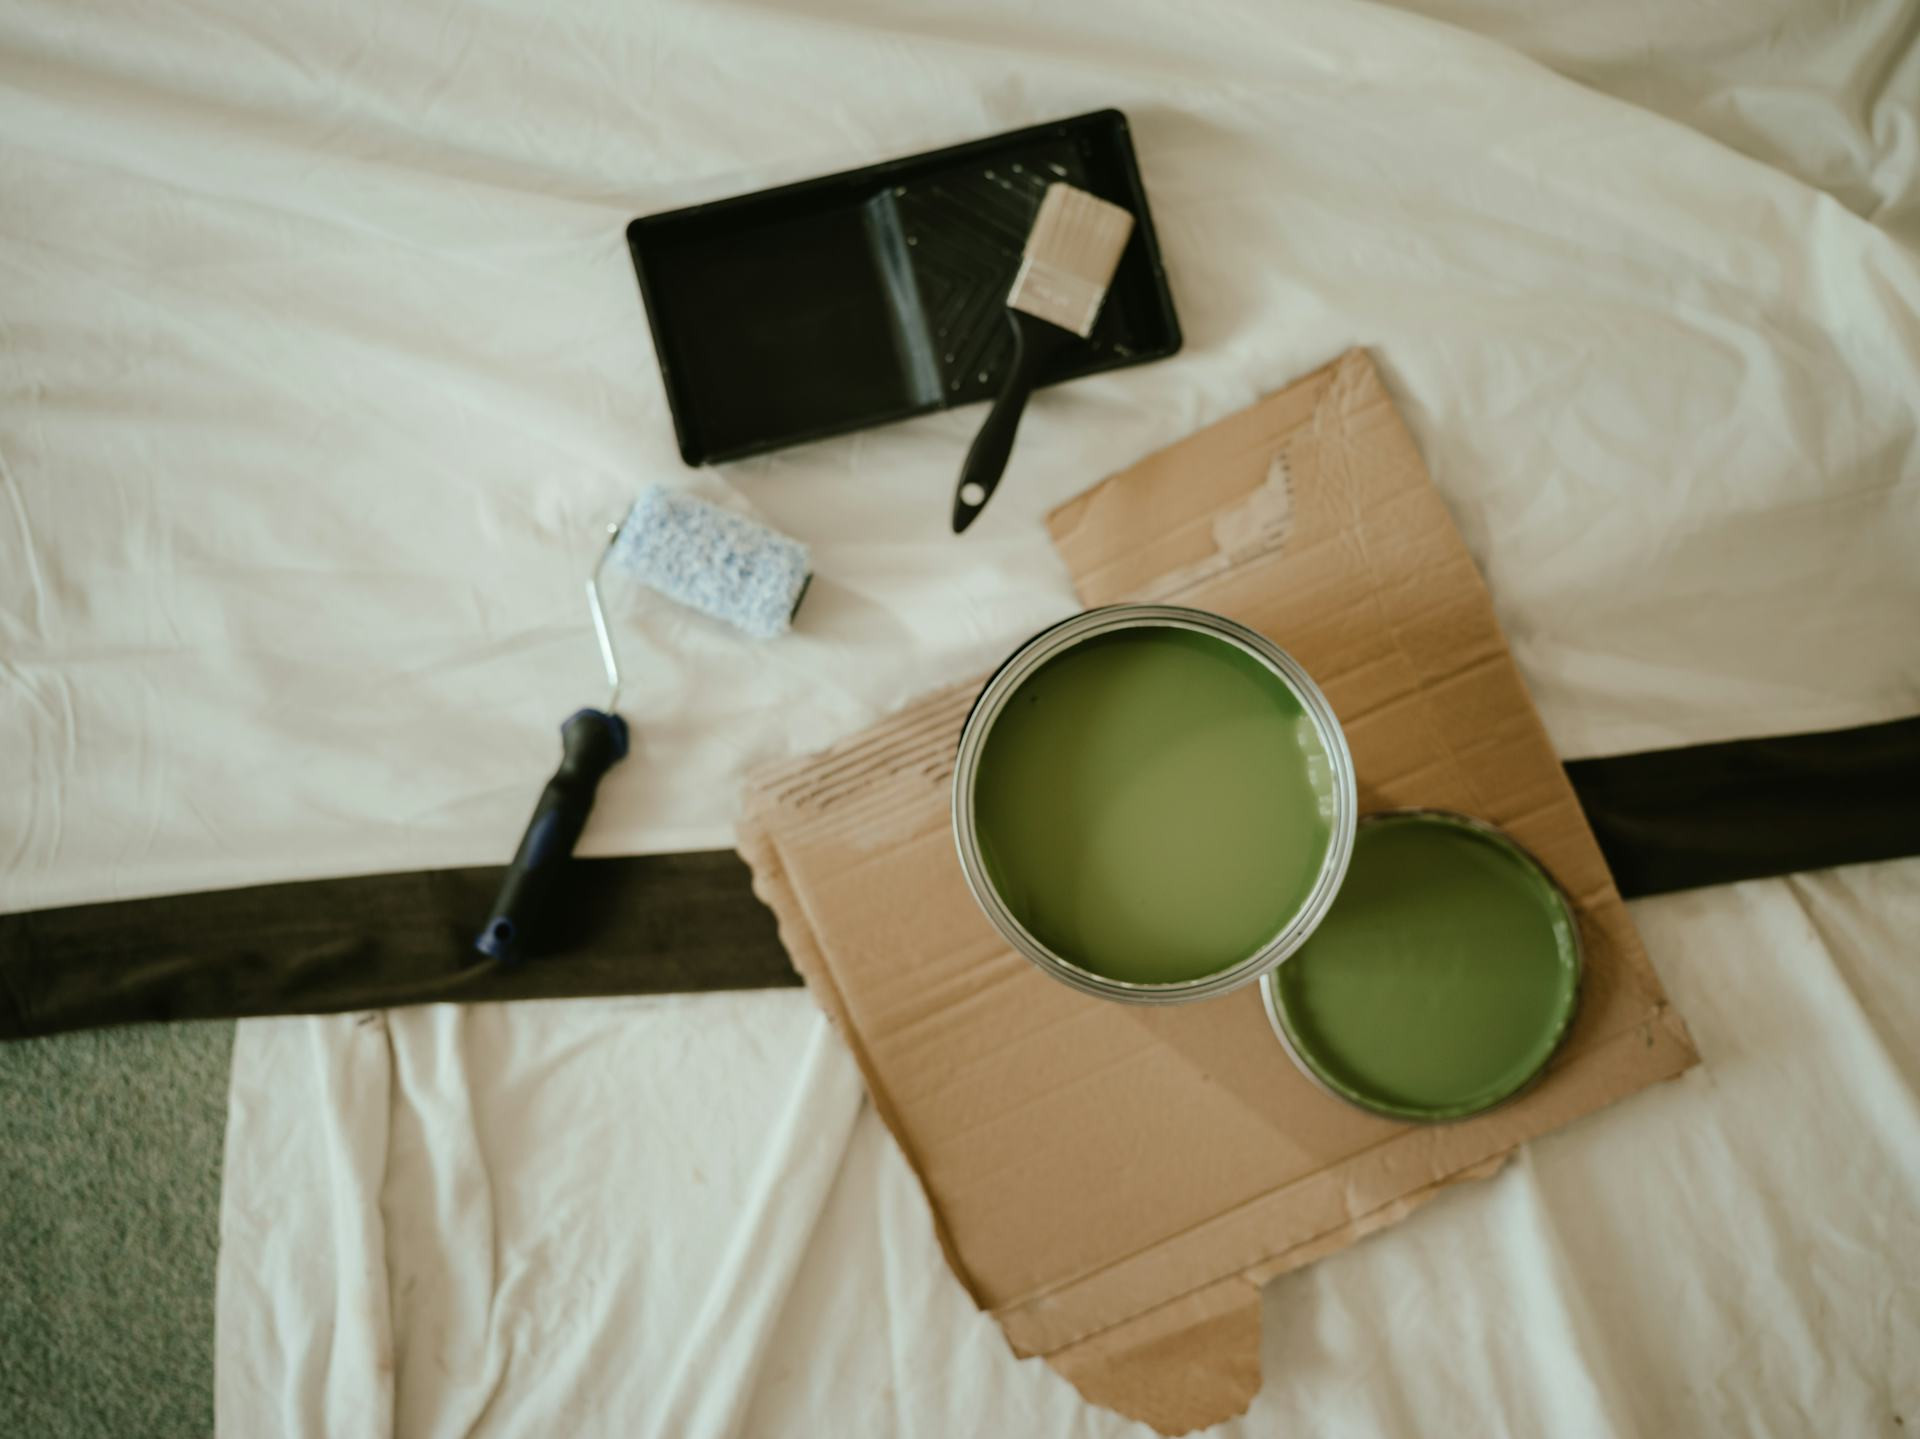
Cover Like a Pro: How to Protect Your Furniture While Painting
A successful paint job isn’t just about choosing the perfect colour or mastering your brush technique – it’s about preparation. One of the most important, yet often overlooked, steps is protecting your furniture and floors. Without proper covering, paint splatters, dust, and drips can quickly ruin your belongings. Fortunately, with the right materials and a bit of planning, you can keep your home spotless while you paint. Here’s how to cover like a professional.
Clear the Space First
Before you even open a tin of paint, make room to work. Move as much furniture as possible out of the area – it’ll make both painting and covering easier. For large pieces that can’t be moved, such as lounges or wardrobes, pull them away from the walls and cover them thoroughly.
Take down curtains, artwork, and light fittings too. The fewer items in the room, the lower the risk of accidents.
Choose the Right Covering Materials
There’s a wide range of protective materials available, each with its own advantages. Professional painters often combine several types for the best results.
- Plastic drop sheets – ideal for covering furniture and large surfaces. Choose a heavy-duty plastic that won’t tear easily.
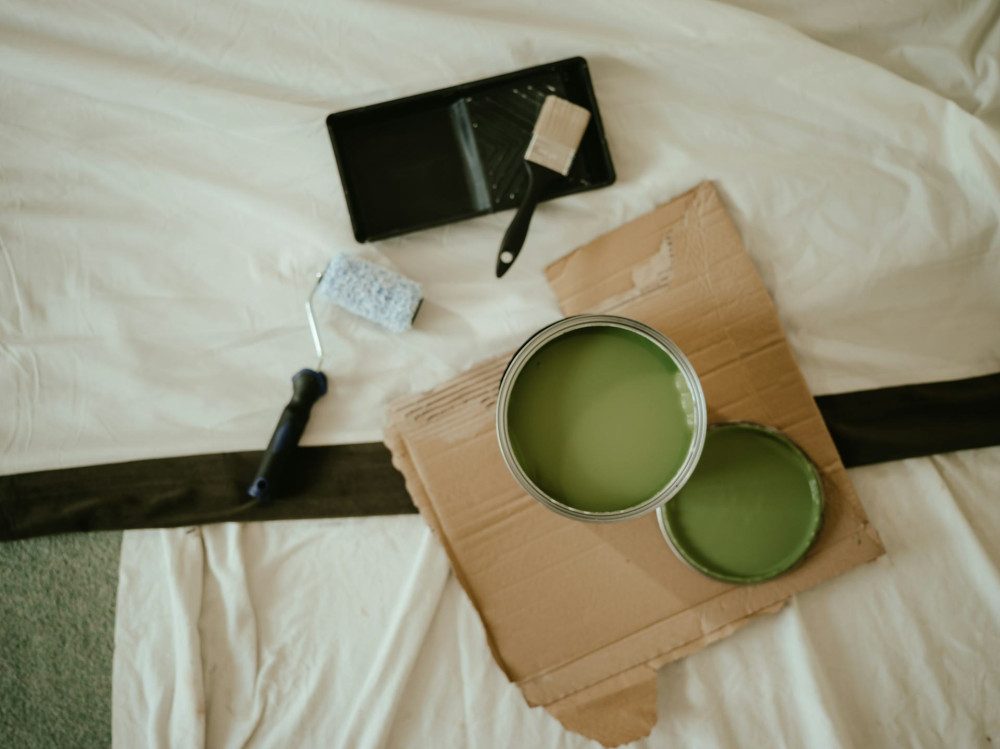
- Painter’s canvas or drop cloths – perfect for floors, as they absorb drips and provide a non-slip surface. Many can be reused multiple times.
- Painter’s tape – essential for protecting trims, power points, and window frames. Go for a quality tape that won’t leave sticky residue.
- Cardboard or hard floor protection boards – great for timber or tiled floors, especially if you’ll be using ladders or heavy equipment.
By combining these materials, you can create a strong barrier against paint and dust.
How to Cover Furniture Properly
Once your furniture is moved away from the walls, cover it completely. Drape plastic so it reaches the floor and secure it with tape to prevent slipping. If you’re using canvas or drop cloths, you can place a layer of plastic underneath for extra protection against spills.
Avoid using old sheets or blankets – they absorb paint and can transfer stains later. Professional-grade materials are designed to resist moisture and paint penetration.
Don’t Forget the Floors
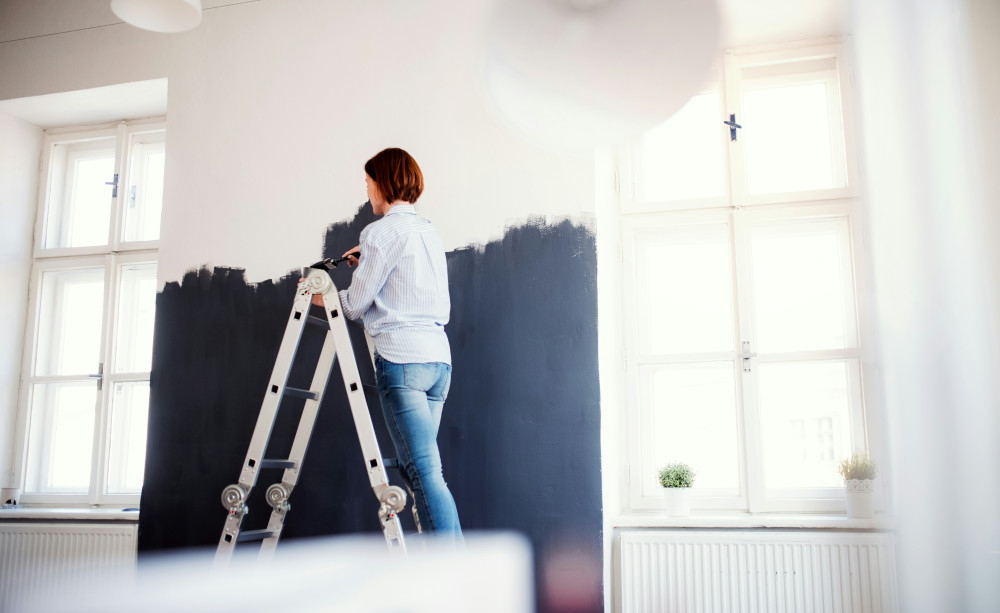
Floors take the brunt of paint splashes and drips. Start by vacuuming or sweeping so your coverings lie flat. Then lay down drop cloths or cardboard, taping the seams to prevent gaps. If you’re using a ladder, make sure the surface underneath is stable and non-slip.
For larger projects, it’s worth investing in reusable painter’s canvas – it’s durable, eco-friendly, and gives a more professional finish.
The Details Make the Difference
Small details can make a big difference to your final result. Cover power points and switches with tape, or remove the covers if you want a cleaner edge. Slip a plastic bag over light fittings and protect window sills and door handles.
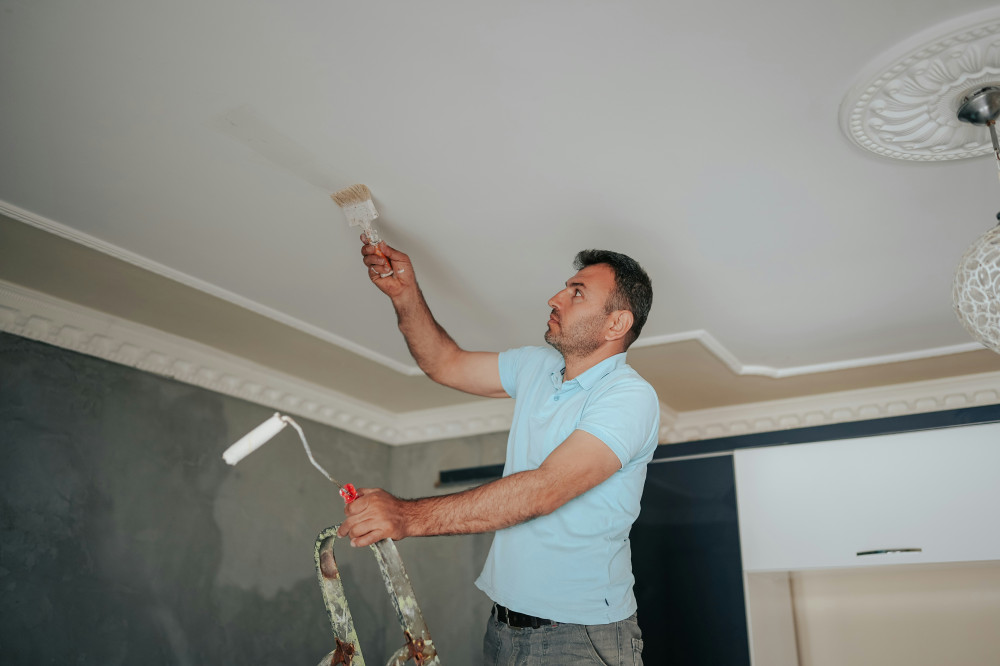
If you’re painting ceilings, use an extension pole for your roller to reduce the need to move the ladder frequently – this helps keep your coverings intact and your workspace safer.
After Painting – Remove the Coverings Carefully
Once the paint is dry, it’s time to remove the coverings. Do it gently to avoid pulling off fresh paint. Start with the tape – peel it back at a 45-degree angle while keeping it close to the surface. Then remove the plastic and cloths, folding them inwards so any paint residue stays contained.
If you’ve used reusable drop cloths, shake them out outdoors and store them for your next project.
Læs også:

Pro Tips for a Clean, Professional Finish
- Work systematically – cover one area at a time.
- Wear gloves when handling plastic and tape to avoid leaving marks.
- Make sure the room is well-lit so you can spot any gaps in your coverings.
- Keep extra tape and plastic handy – it’s better to use too much than too little.
With these simple but effective techniques, you can paint confidently without worrying about damaging your furniture or floors. Proper covering isn’t just a precaution – it’s an investment in a clean, professional-looking result.
Læs også: