Clean and Adjust Downlights and Under-Cabinet Lighting Like a Pro

Clean and Adjust Downlights and Under-Cabinet Lighting Like a Pro
Good lighting can completely transform a kitchen — from purely functional to warm and inviting. But over time, downlights and under-cabinet fittings collect dust, grease, and grime, dulling their brightness. Angles can shift, and the light may no longer fall where you need it most. The good news? With a few simple steps, you can clean and adjust your lighting like a professional — no electrician required.
Here’s a step-by-step guide tailored for Australian homes.
Start with Safety
Before you touch any light fitting, turn off the power. Either unplug the fixture (if possible) or switch off the relevant circuit at your switchboard.
Wait a few minutes for the bulbs to cool down. Even LED lights can get warm, and halogen downlights can become very hot. Always handle them carefully to avoid burns or damage.
If you’re working on ceiling downlights, make sure you have a stable step ladder and good footing. Safety first — especially when working overhead.
Remove Dust and Grease the Right Way
Kitchen lighting often attracts a fine layer of grease, especially near the cooktop or rangehood. To clean effectively:
- Use a soft microfibre cloth dampened with warm water and a small amount of mild dishwashing liquid.
- Avoid harsh chemicals or abrasive cleaners — they can damage finishes or cloud glass.
- For glass covers or reflectors, wipe gently and polish with a dry, lint-free cloth.
- For metal trims or chrome, a little vinegar diluted in water can cut through grease, but keep moisture away from electrical parts.
- If your downlights have removable covers, take them off carefully and clean them separately.
A vacuum with a brush attachment is handy for removing dust from vents or recessed fittings before wiping them down.
Læs også:
Check the Bulbs — and Save Energy
While you’re cleaning, it’s a great time to check your bulbs. LEDs gradually lose brightness over time, even if they haven’t failed completely.
Consider upgrading to high-quality LED bulbs if you haven’t already. They use far less energy, last longer, and produce less heat — ideal for Australian summers.
For kitchens, choose a colour temperature between 2700K and 3000K for a warm, inviting glow, or around 4000K if you prefer a crisp, white light for food prep.
Adjust the Angles for Perfect Illumination
Even small adjustments can make a big difference. Many downlights can tilt or swivel, allowing you to direct light exactly where you need it.
- Over benchtops: Aim the light so it hits the surface evenly without glare.
- Near the sink or cooktop: Angle the beam slightly forward to reduce shadows.
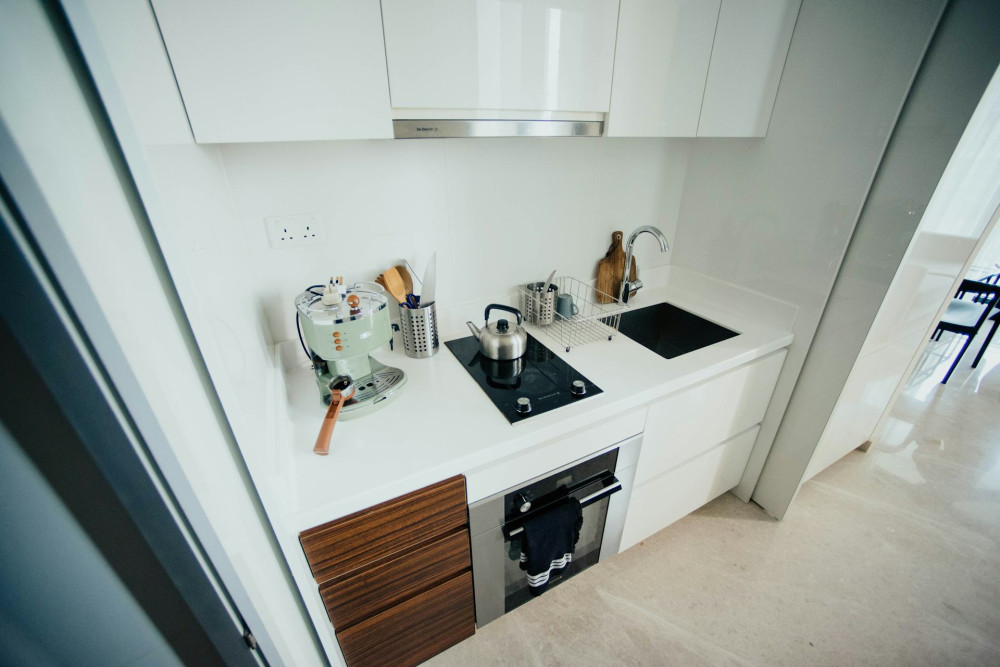
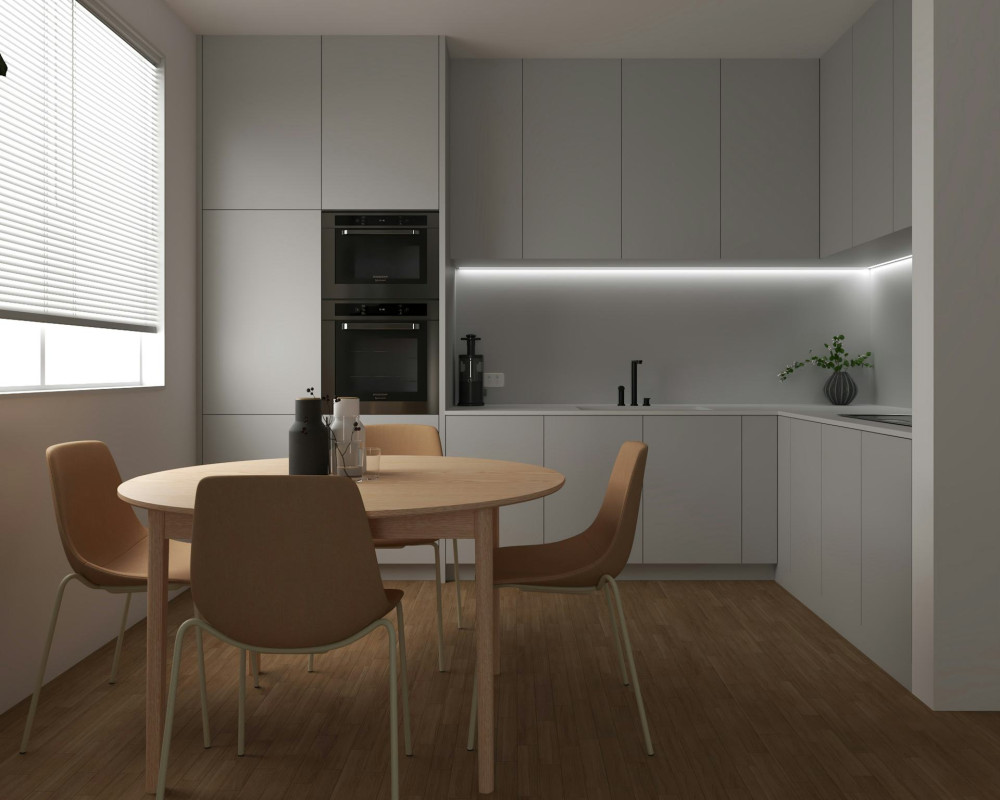
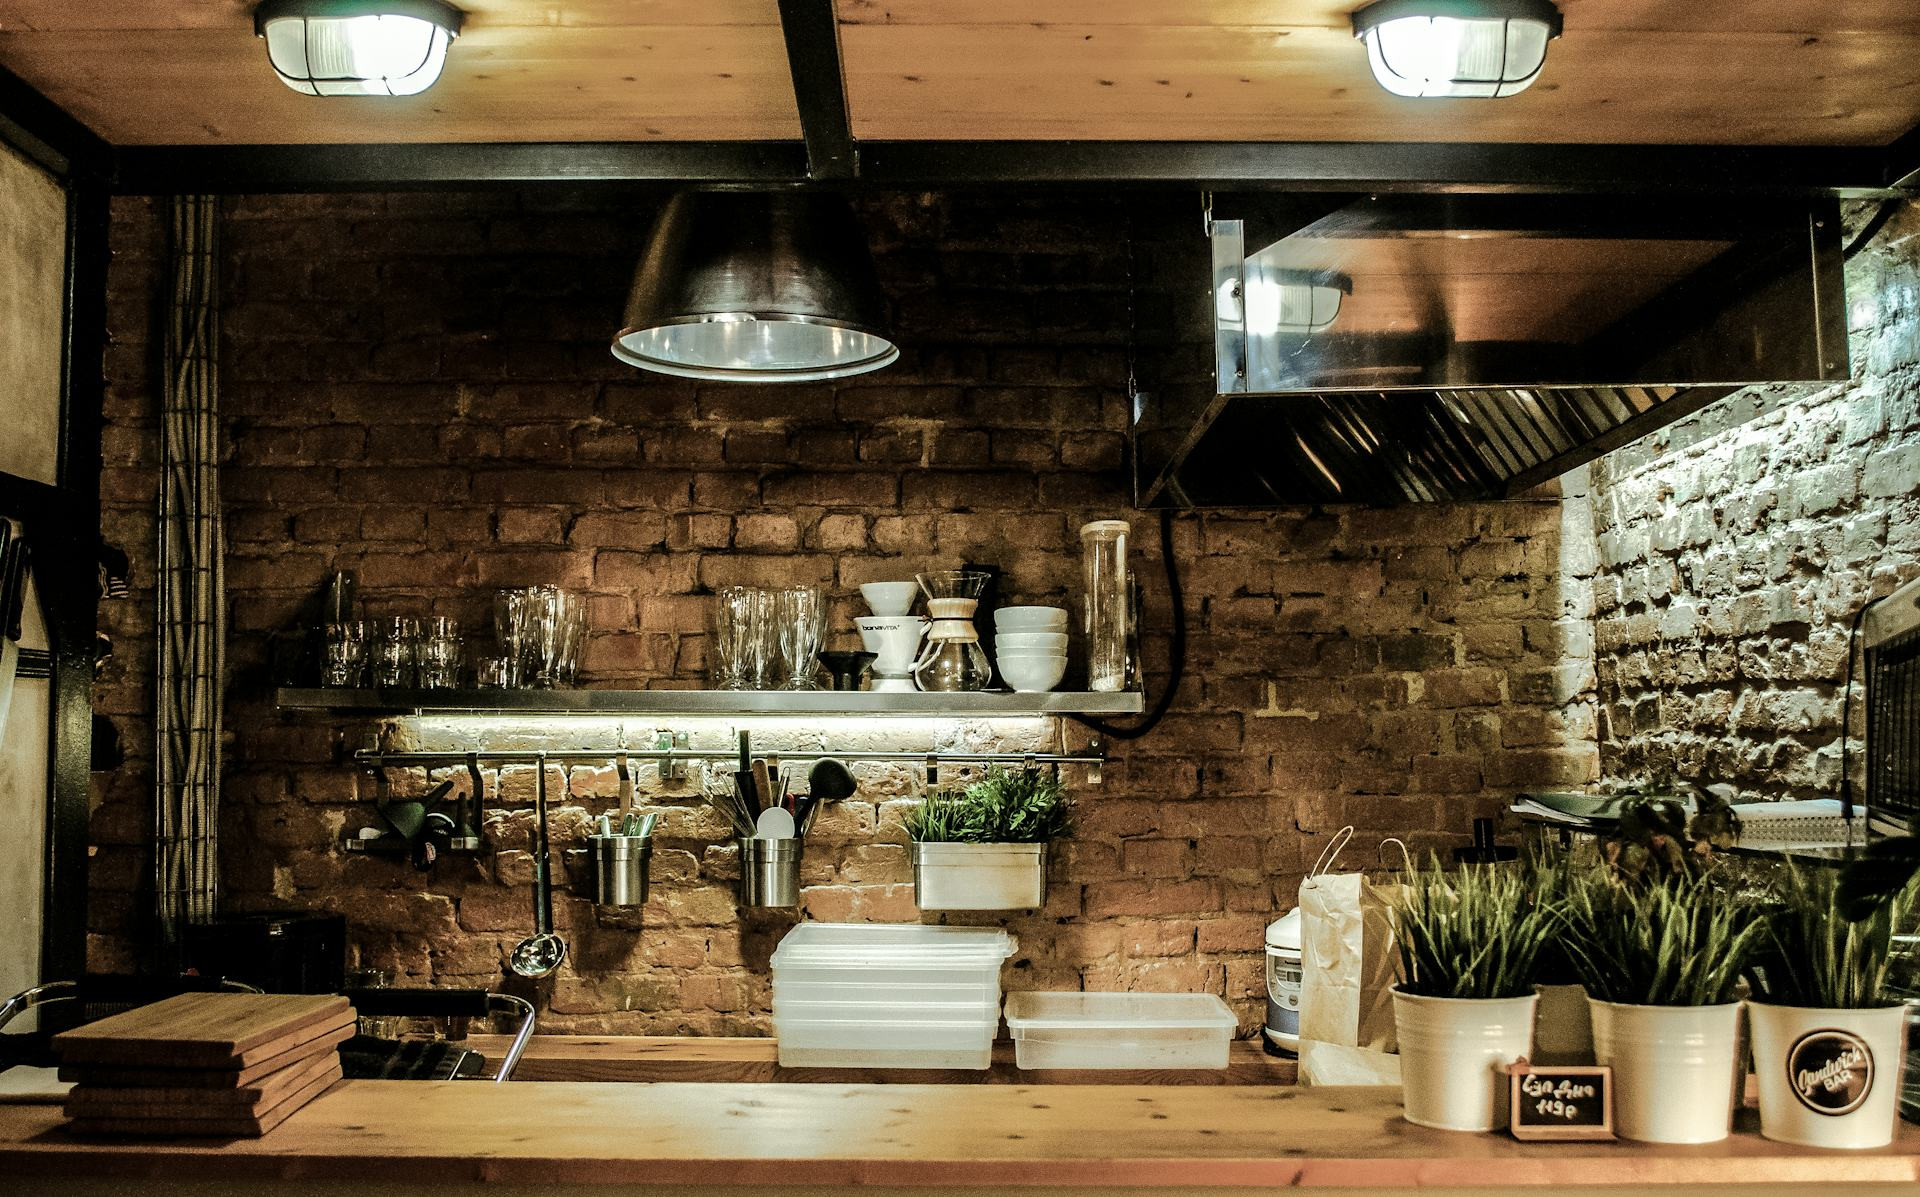
- Under cabinets: Adjust fittings so the light spreads evenly across the benchtop, avoiding dark patches.
If you have multiple downlights in a row, align them so their light overlaps slightly. This creates a smooth, consistent wash of light across your workspace.
Consider an Upgrade
If your lighting is more than a decade old, it might be time for an upgrade. Modern LED systems are far more efficient and offer better colour rendering — perfect for showing off fresh produce or a beautifully plated meal.
Look for LED panels or fittings with a high CRI (Colour Rendering Index) of 90+ for natural, vibrant colours. Many new models are also dimmable, letting you switch from bright task lighting to a softer evening mood with ease.
Make It a Routine
Once your lights are clean and perfectly adjusted, keep them that way with a simple maintenance routine:
- Wipe surfaces every few months, especially in the kitchen.
- Check that all bulbs are working and producing even light.
- Re-adjust angles if you’ve moved appliances or changed your layout.
A few minutes of care a couple of times a year will keep your kitchen bright, efficient, and welcoming — just like a professional setup.
Læs også: